Today, May 30th, I was able to pour the concrete for  the foundation.
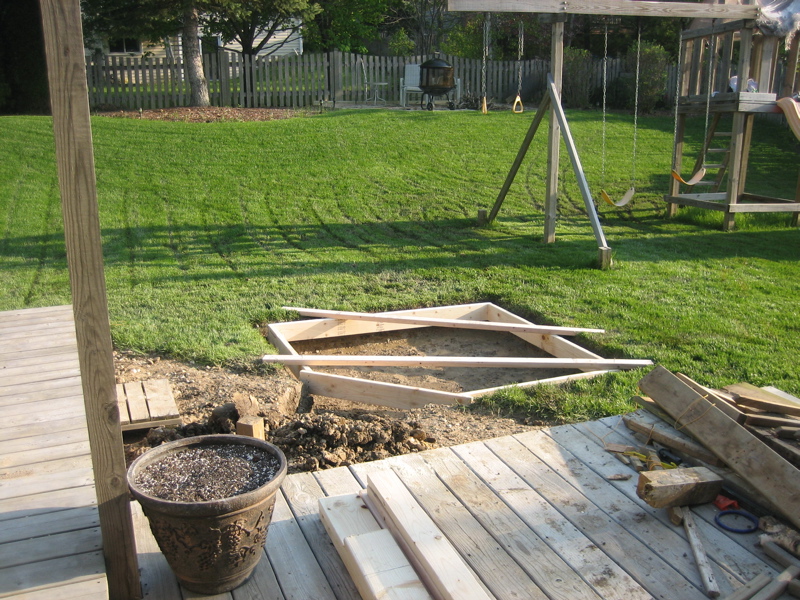
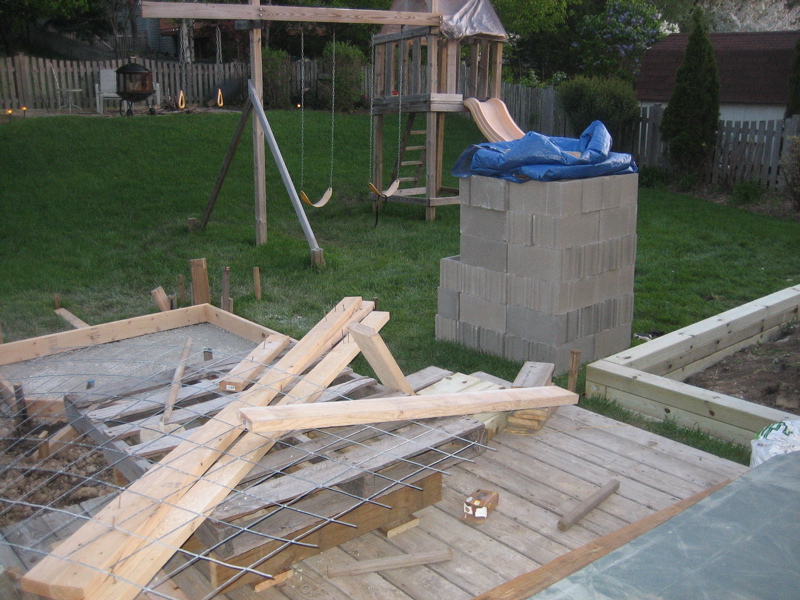
I read a bunch of info about rebar reinforcement, placement of the rebar, mesh, tie wire, and on and on. I just about had it all put together. It has to be strong enough to support...about 4000-5000 lbs. of more masonry.
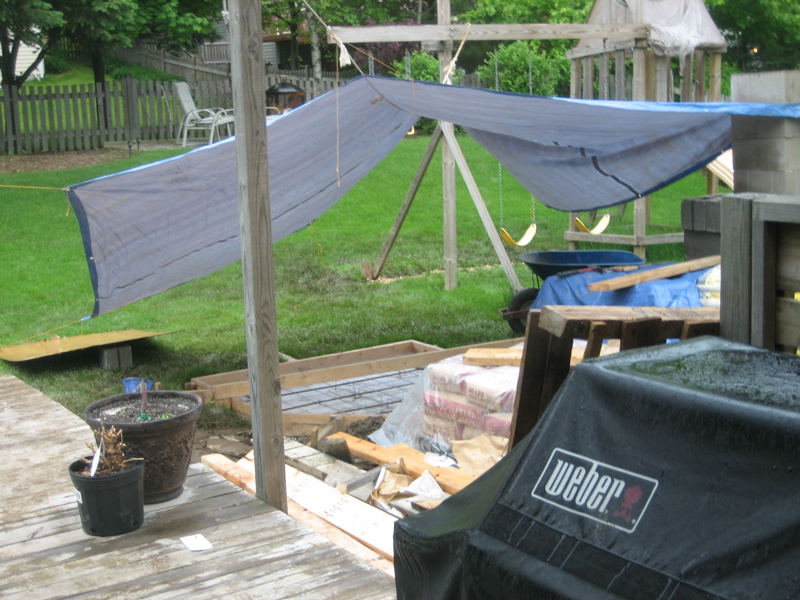
I knew that today there was a chance of rain, but I wouldn't have a day to work on this until at least another two weeks, so I went ahead anyway. I got up really early- Gus gets up at 5:05 these days and I was worried about getting the last tie wires done and a tarp over the "Pit".
As your can see, the day was gray and it started to rain as I did the last tie wires. Then I was off to Libertyville Rent-Alls.
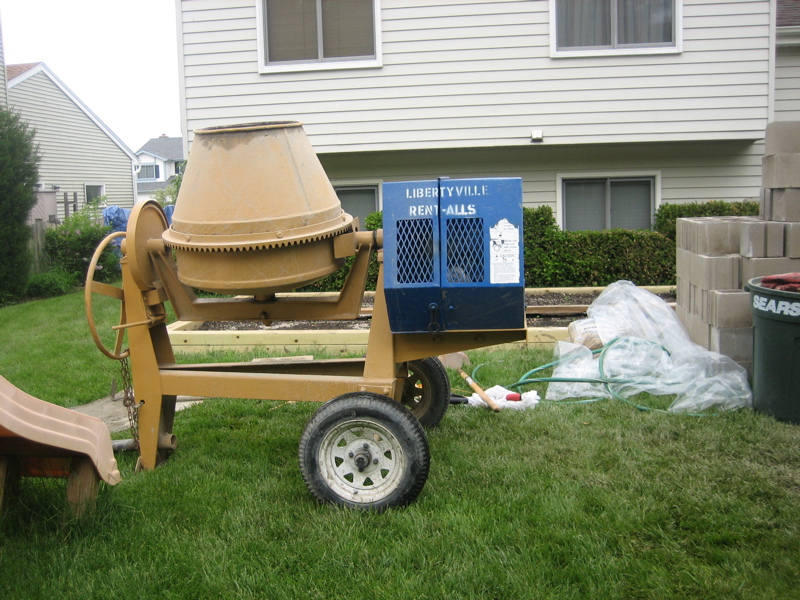
I highly recommend them for all your rental needs. I was able to reserve a 6 cuic foot cement mixer by calling them and leaving my name. The rental fee was $50 for the day. I thought the day meant until they closed at 5:00pm, but it meant until 8:00 am the next morning. Many places say their "day" rental is 8 hours.
 This is the mixer. You can actually pick it up at the tow bar and bring it chest high and it's balanced pretty well. Problem is with all the wet weather it was a real bull getting to the backyard. As a matter of fact the rims of the tires scraped the fence gate as I brought it into the back. I call and asked how wide it was and they said 46" so I thought great, the gate is 48". Problem is I measured the gate at the top and not the bottom where the wheels actually would be going through. My great neighbor Troy helped me weasel it through with some kicking. By 9:00 am I was ready to begin pouring.
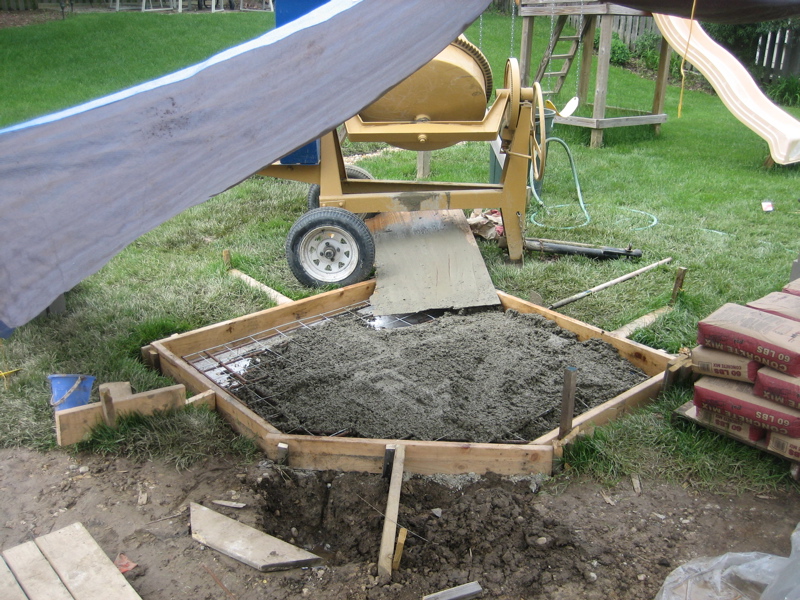
I had planned pretty well in moving the bags next to the deck and the mixer near the deck. The first batch was a bit dry. Everyone and everything I've read about pouring concrete says to pout it dry, rather then overly wet. It's easier to pour wetter, but loses some strength from being over hydrated. The second batch was more wet

and off I went. The picture shows about 14 bags poured into the forms. Speaking of forms, I forgot to oil the wood, so I took a moment during the mixing of the next batch
to oil the forms. I was worried about taking too long and the concrete would begin to set and I would have it all poured, but it stayed pretty much wet during the time it took to mix it all (about 3 hours).
Everytime I see these pictures I smell Portland cement. I understand why there aren't many old mason guys around. A word to the wise- always make a slurry then add to it. Don't ask, trust me learning the hard way stinks.

This is my before my arms cramped up and I could still hold the camera up like this. Screeding is hard, too. I ended up mixing about (40) 60# bags of concrete.
 Here is after a first screed. I had to screed 3 times to get the middle to come down to level. It really brought the cream out quickly and because it was so long after I started it began to set really quickly after the screeding. I probably waited a bit too long before edging and troweling, but it worked out in the end. Word to the wise: Get rubber protected gloves and use them.
After the first edging and troweling it set up faster and faster. Probably because it began to clear up and it was warming up, too. Here you can see the sun has come out.

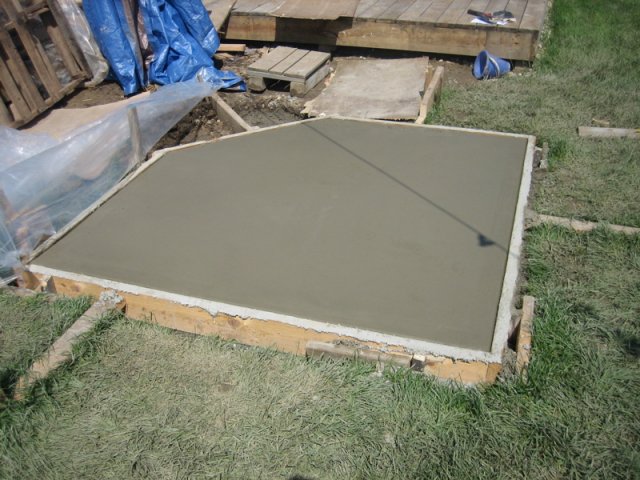
I made sure to clean the drum out really well and returned it about 3:30pm. They checked it out and that was that.
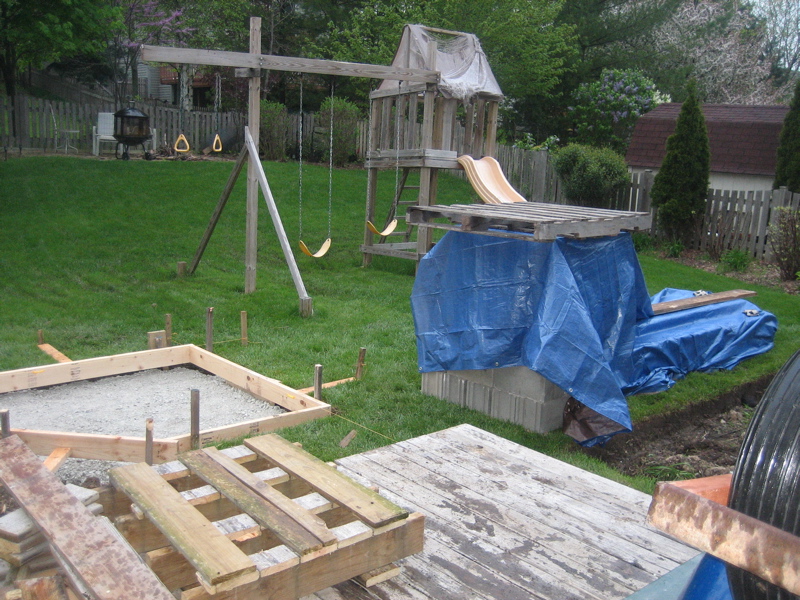
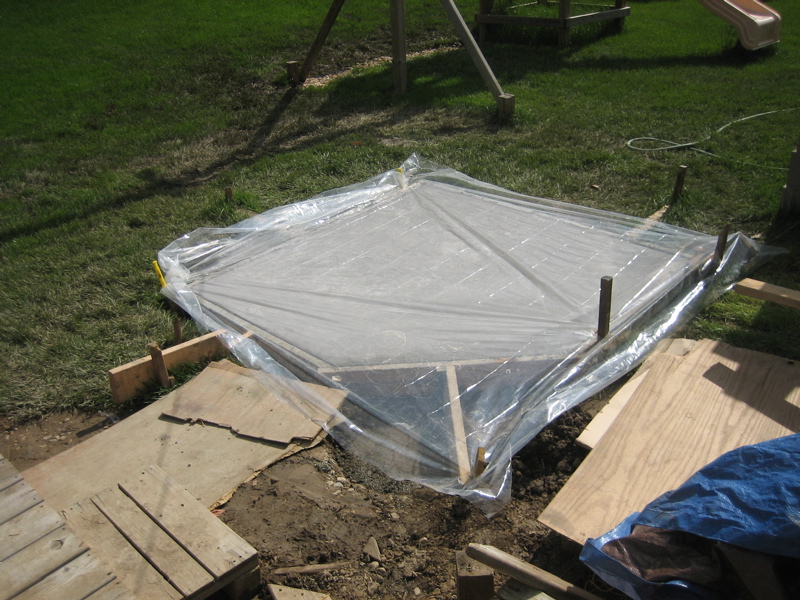
 After a while I put the plastic over the foundation to slow the curing rate. They say to bring it to full strength you don't want a rapid cure, but a slower, wet cure. So, tomorrow I will take the plastic off and spray the concrete and put the plastic over it again.
This is what we scratched into the concrete. Gus' paw print and Tate '09. This might get covered with concrete block, and brick, but it will always be there. (EDIT: Since he died, I will have this part always.)

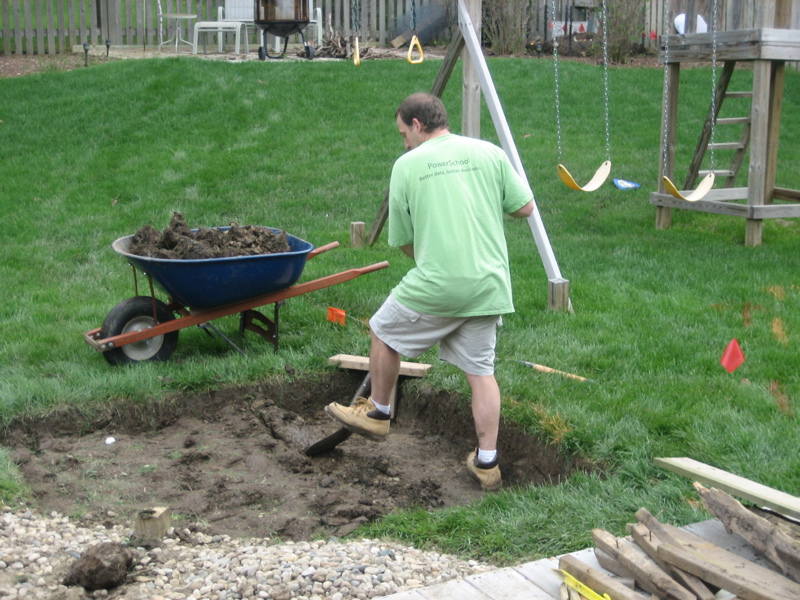
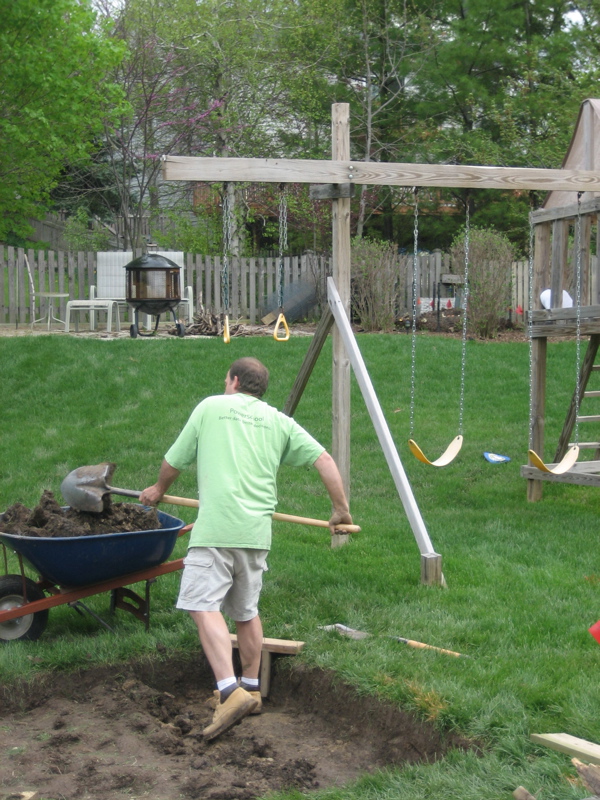
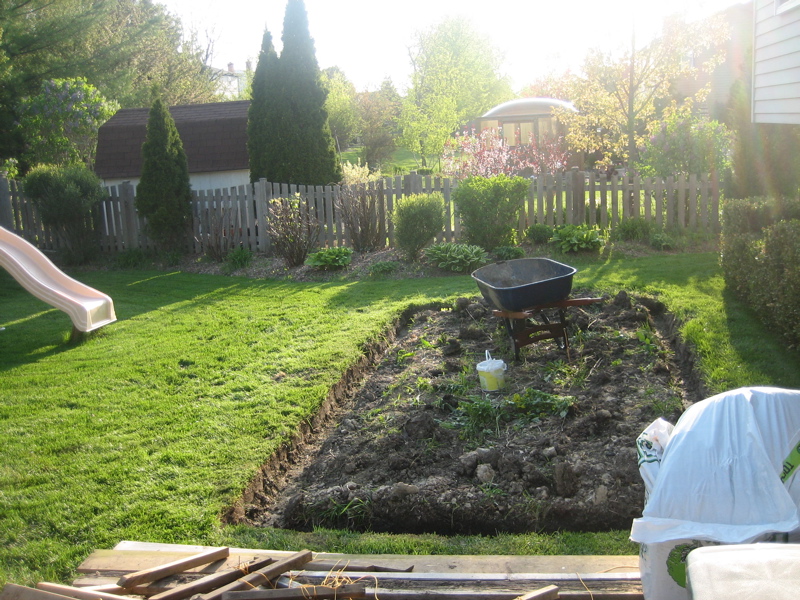
This was a long morning and afternoon but well worth it. It was rewarding to get this far and best of all I don't care how much it rains for the next week because it's just going to help the curing. I was really getting frustrated pumping the"Pit" out for the second time, but I know it really helped to settle the fines and provide a nice solid base.
That's all for now.
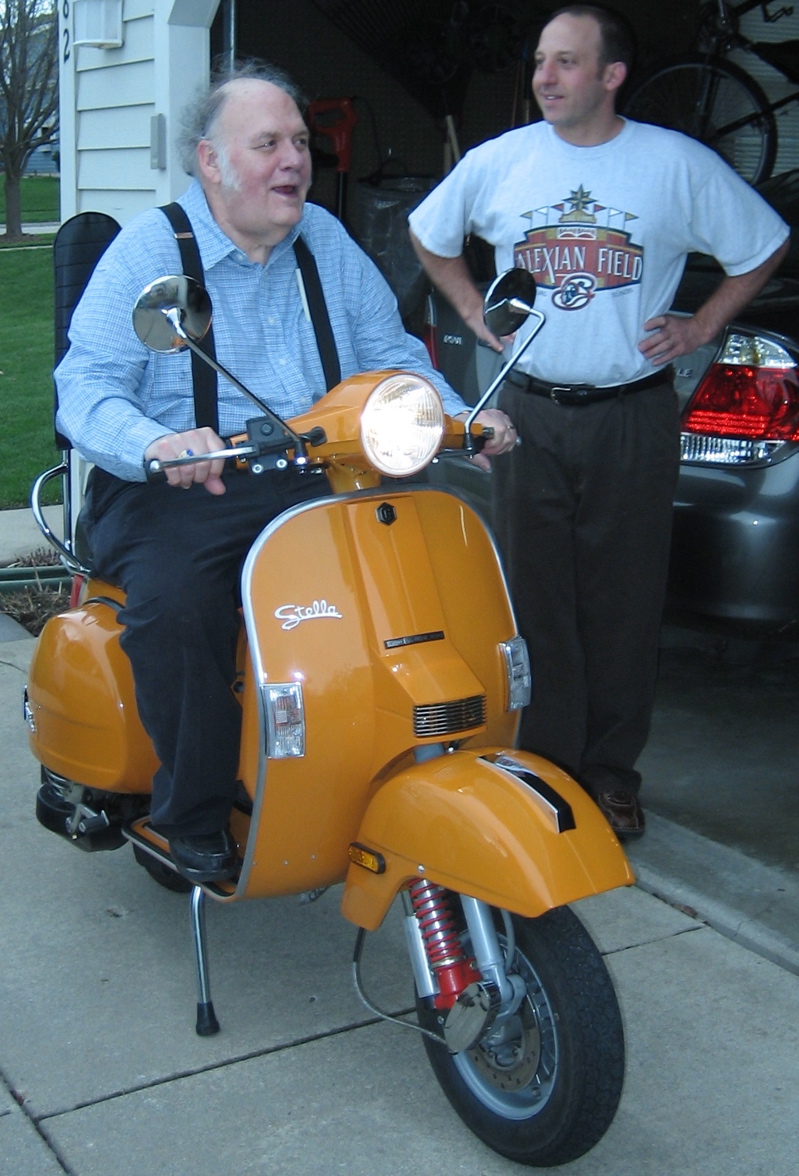 He had something very similiar to it way back when Sears sold Vespas. I'm the other dude.