Timo's Oven...Because I can!

First Taste of Mortar and Blocks

General — Posted by timo @ 17:44

This was the goal for laying the foundation blocks today. I would like to keep the first row as level and plum as possible. This actually turned out alright. I was able to adjust the blocks pretty well with the 2# rubber mallet. The only problem was keeping it all square. I used a chalk line to place the blocks, but after the first side, it all kinda went down the drain.

So, now I am off by about 1/2".  I think I can putz that when I dry stacked the blocks.

Some notes about mortar. I use type N masonry cement and mixed in my own sand. I used one 50# bag of sand (about four buckets full) to about two parts cement. I was worried about having too much sand in the mix so I kept adding more cement. Then I added too much water and had to add more cement to thicken it. So I ended up with about half a wheel barrow full of mortar and it turns out I needed just that much to do the first row of blocks.

But don't forget with all the global warming these days temperatures have been over 100 degrees for the last month and it hasn't rained for two months. This reminds me of a a story I read as a kid where it turns out that instead of heat and the misery that accompanies the heat, it's the opposite. 55 degrees and rain today...


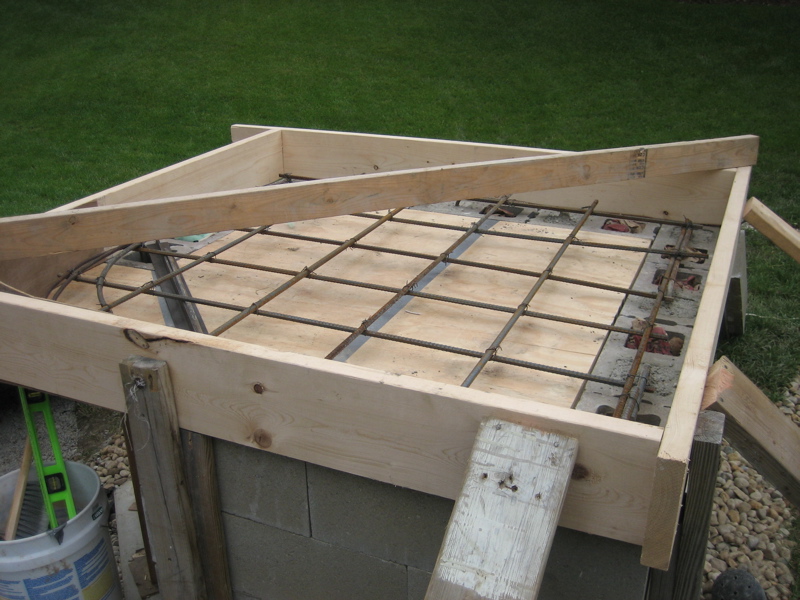
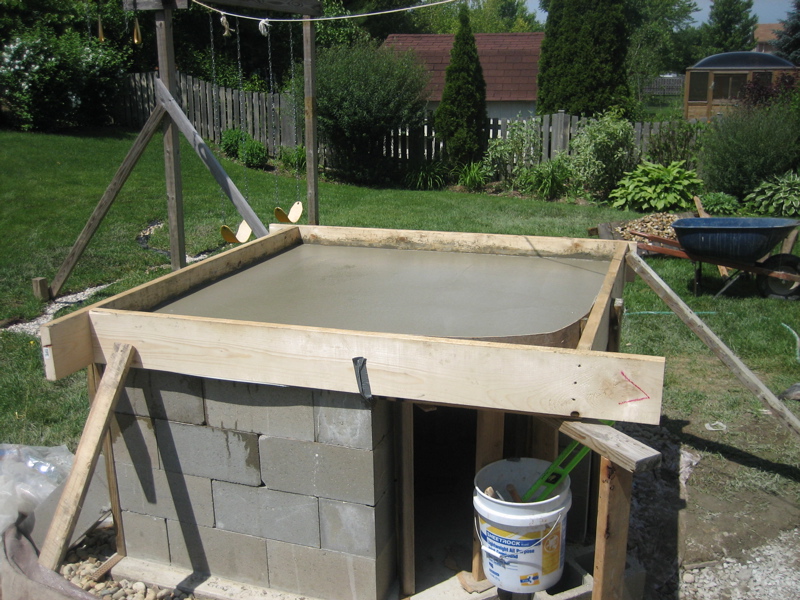
So, here's my tarp again. After setting the blocks it began to rain pretty good so I am glad I listened to the weather reports and set this up before it rained. Don't worry, I pulled all the screws and nails out of that stack of wood you see.

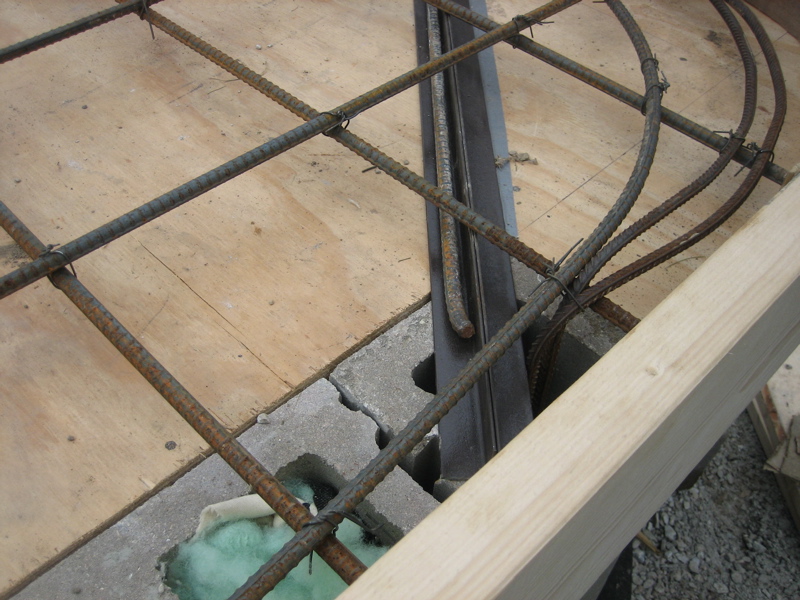
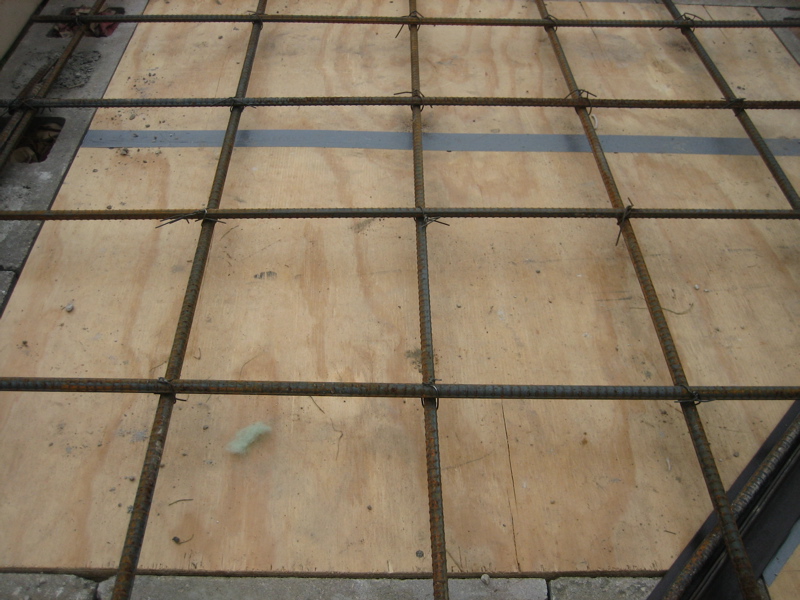
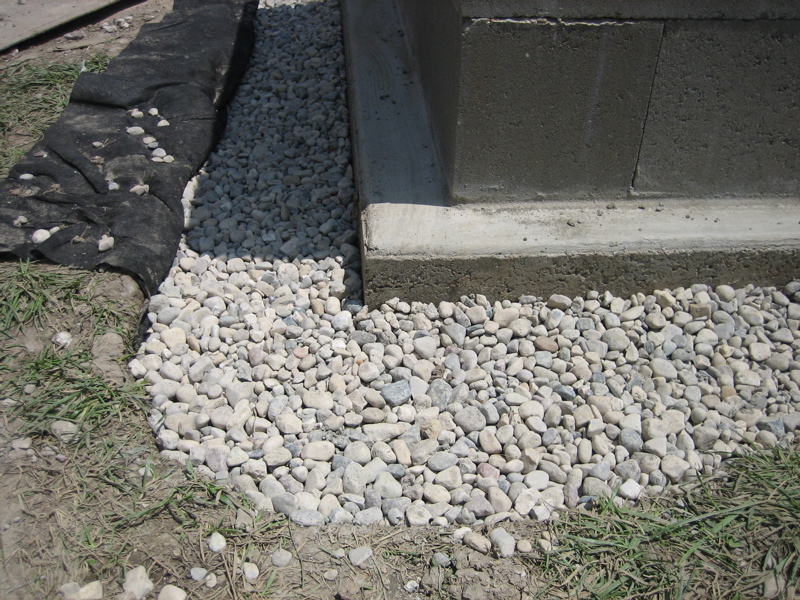
Here you can see the layout of the first course of blocks.

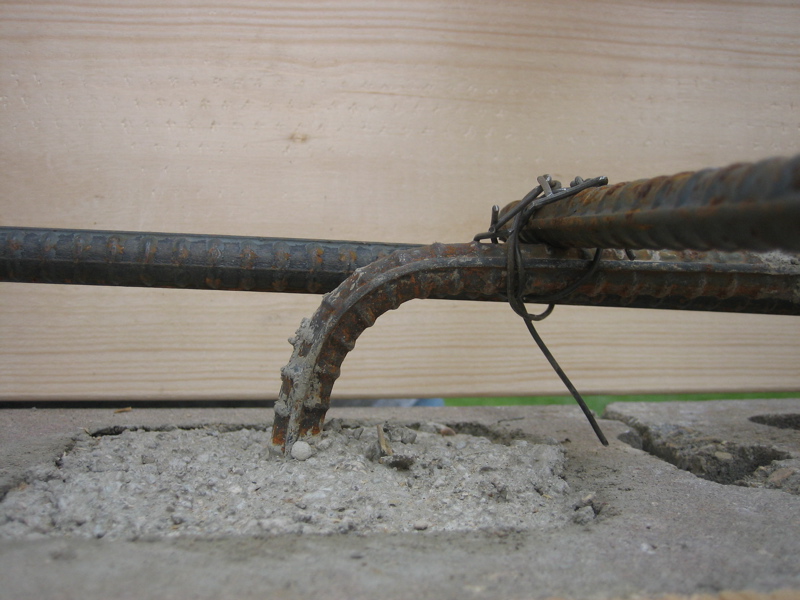
Trying to correct a block after it was set took its toll on one block and it cracked. I was not happy, but I knew that this might happened (breakage) so I have a few extra blocks. Now the next thing to do is dry stack the blocks.. This should only take a few minutes. Then of course it's time to mix more concrete to fill in the cores. I will probably fill in the corners and every other core. It will take about 1 11/2 bags to do each core. I have about 24 bags of concrete left from the pallet of 63 so I will have plenty for the cores, but will need more to finish the hearth structural pour.

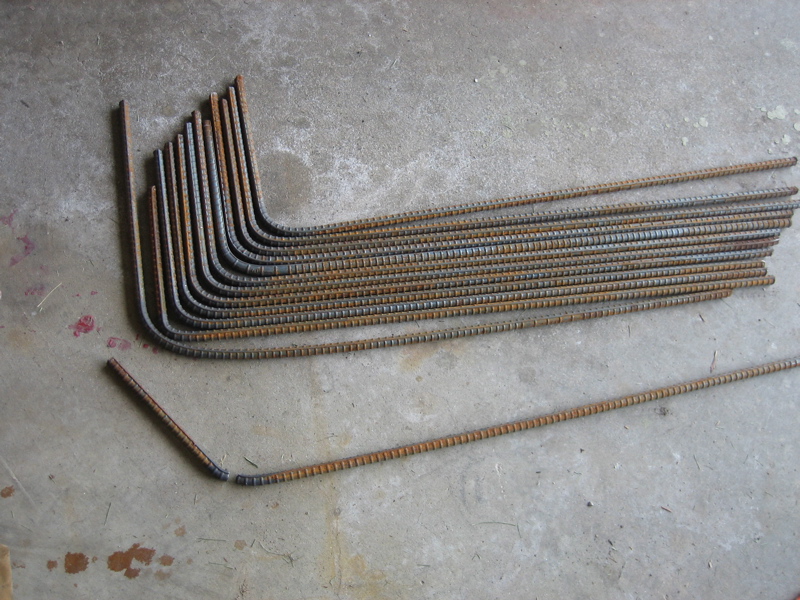
My goal is to have the stand poured by June 22nd, or sooner. Once school gets out we'll see how much faster I can go. In order to pour the hearth stand, the cores have to be filled, rebar in the cores, rebar framing in the hearth, forms set and reinforced and more concrete and perlite bought along with 2x8x8 wood.


Good thing Jackie doesn 't read this so she doesn't know I'll need to spend a few dollars for wood and concrete again.


That's all for now.


Drainage and Rebar

General — Posted by timo @ 12:51

Well, we are getting even more rain then I ever thought possible. I had to pick up about 3/4 ton of river rock to lay the drain tile in and around. Landscape fabric around the tile and once again between the rock layer. I plan on placing #8 river rock on top of the #6 because I have a bunch of #8 from my first attempt at drainage issues.

Here's a picture of the rebar angles I bent using a vice and an $8 black pipe from Home Depot. I found out that you can't put too tight a bend on rebar without it shattering. I am glad I had on safety googles and leather gloves. I found I had to give it a slight bend, then move the pipe

back a bit away from the bend, then bend some more. I finally got the hang of it and it went pretty fast. The hardest part was bracing the vice so it wouldn't twist when I pulled on the rebar. I used two C clamps to secure the vice to the table to stop it from moving.

This picture shows the top of the river rock drainage system. The trench around the perimeter of the foundation is about 8" wide. Any water in the crushed rock layer will drain out to the tile and any water that leaks in from the surrounding grade will fall straight down the rock to the tile.

 Someone gave this the name of Stage 3 French Drain. It runs out through the middle of the yard out to the side of the house.

This is a clean out, maybe. Really I just wanted to see how much was draining and maybe I can shove a garden hose in it to clean out some sediment, but that's probably not going to work with the corrigated pipe. Either way, it's in the back of the oven so it's not going to be seen much there.

Anyway, here's the rebar in the cores. It takes about one bag per core to fill. I chopped an old chewed up waste paper basket to aid in shoveling the concrete into the cores. The sun really made it set up fast. I will have a few cores left to fill after I get the hearth floor placed along with the 2x8 forms for the hearth pour. Yes, that's right, another 3 1/2" rebar reinforced slab followed with 4" of insulated perlite concrete. The reinforced concrete will need about 25 #60 bags.

Hopefully I don't have too many spelling errors :)


Gus's Corner - Authentic Brick Oven Cooking

General — Posted by timo @ 17:19

This is in tribute to our late great dog, Gus. We all miss him so very, very much. I wish he didn't have to go. I wish it didn't hurt so much to say goodbye.

Here's the mock up of the naming for the brick oven. Maybe when I finally get it done and know how to use it, I can print one of these out with some info on the other side. Like how to reheat and perhaps ingredients. I came up with the idea for Gus's Corner because he always sat next to me and waiting until I left my cooking corner in the kitchen. Then he would clean up any food that had fallen on the floor.

If you have any suggestions please leave some input about the layout. I was thinking of having Alex put mosiac tile on the oven, but I need a design and color scheme.


Anyway that's all for now.


So Much Done, So Much More to Go

General — Posted by timo @ 17:09

Well, today was our first really hot humid day in a long while and I just happened to have it fall on the day to pour the foundation for the hearth. As you can see it's all in the preparation. I put enough rebar and angle iron into the structural part to make me happy.

I wanted to provide enough support for the firebrick and the decorative brick arches, too. Hey, it's only concrete, how hard can it be? Well, as you can see the grinding to cut all this rebar was just one step. But what about all the prepp that goes into the plywood form? Well, that took a day in itself. The picture above to the left shows how much rebar I stuck into the front span. I actually poured the front to corners with the hearth pour to hopefully tie in the whole front of the hearth because of the expected weight there and the overhanging landing. The rebar lattice is made of 1/2" rebar at 11" centers. I don't know why 11 inches...it just worked out that way. The plans called for 12" centers.


The rebar is bent into a 90 angle stuck into the cores and cemented into place. Yes, this is going to be rock solid. I figure it has to be because I tossed another 1,260 pounds of concrete in there.

And there you have it. A structural hearth pour. 3 1/2" thick. 21 60# bags of concrete. A bit of troweling for fun after the screeding. I made a nice screeding board out of a 2x6x8 cut out at the ends for moving across the hearth.


 I have to say this is one nice looking pour. It took about 3 hours to mix it all. We, of course, are expecting giant storms sometime later tonight, or tomorrow. That's why once I was done with it all, I covered it twice: Once with plastic to keep it from drying out too fast, and once again with a tarp to keep the rains off of it.


These are my two amigos. Without a decent pair of gloves you are in for a lot of trouble! Get a good pair and make them your best friends.


Well, guess what? I went to the library today and picked up 6 Sinatra discs and some other interesting discs. There is something about Sinatra in the background while eating. Maybe it's me. Anyway, Here's a favorite to be soon, around the oven. Enjoy! Now the hard part begins after the perlite insulation layer...actually building the oven. 


Golden Arches

General — Posted by timo @ 16:58

These were my first ideas for the vent arch. As I went over and over the arches the design changed many times. I finally settle on the last one with me on top of it. I have placed the first row, or soldier course down. I have also started on the first real course of the oven. It's slow go, but I have found some really excellent books about real pizza from Naples. We are going to have a pizza party like a once in a lifetime party. Someday soon...


Powered by LifeType