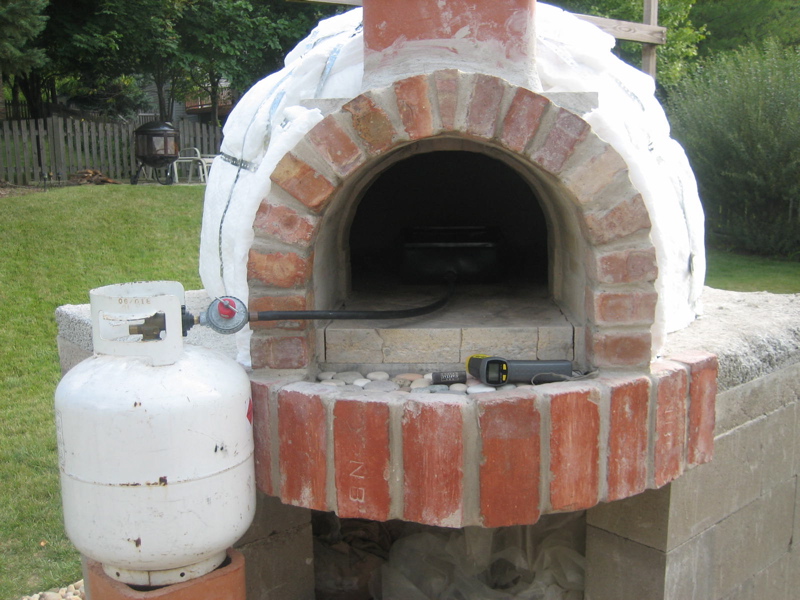
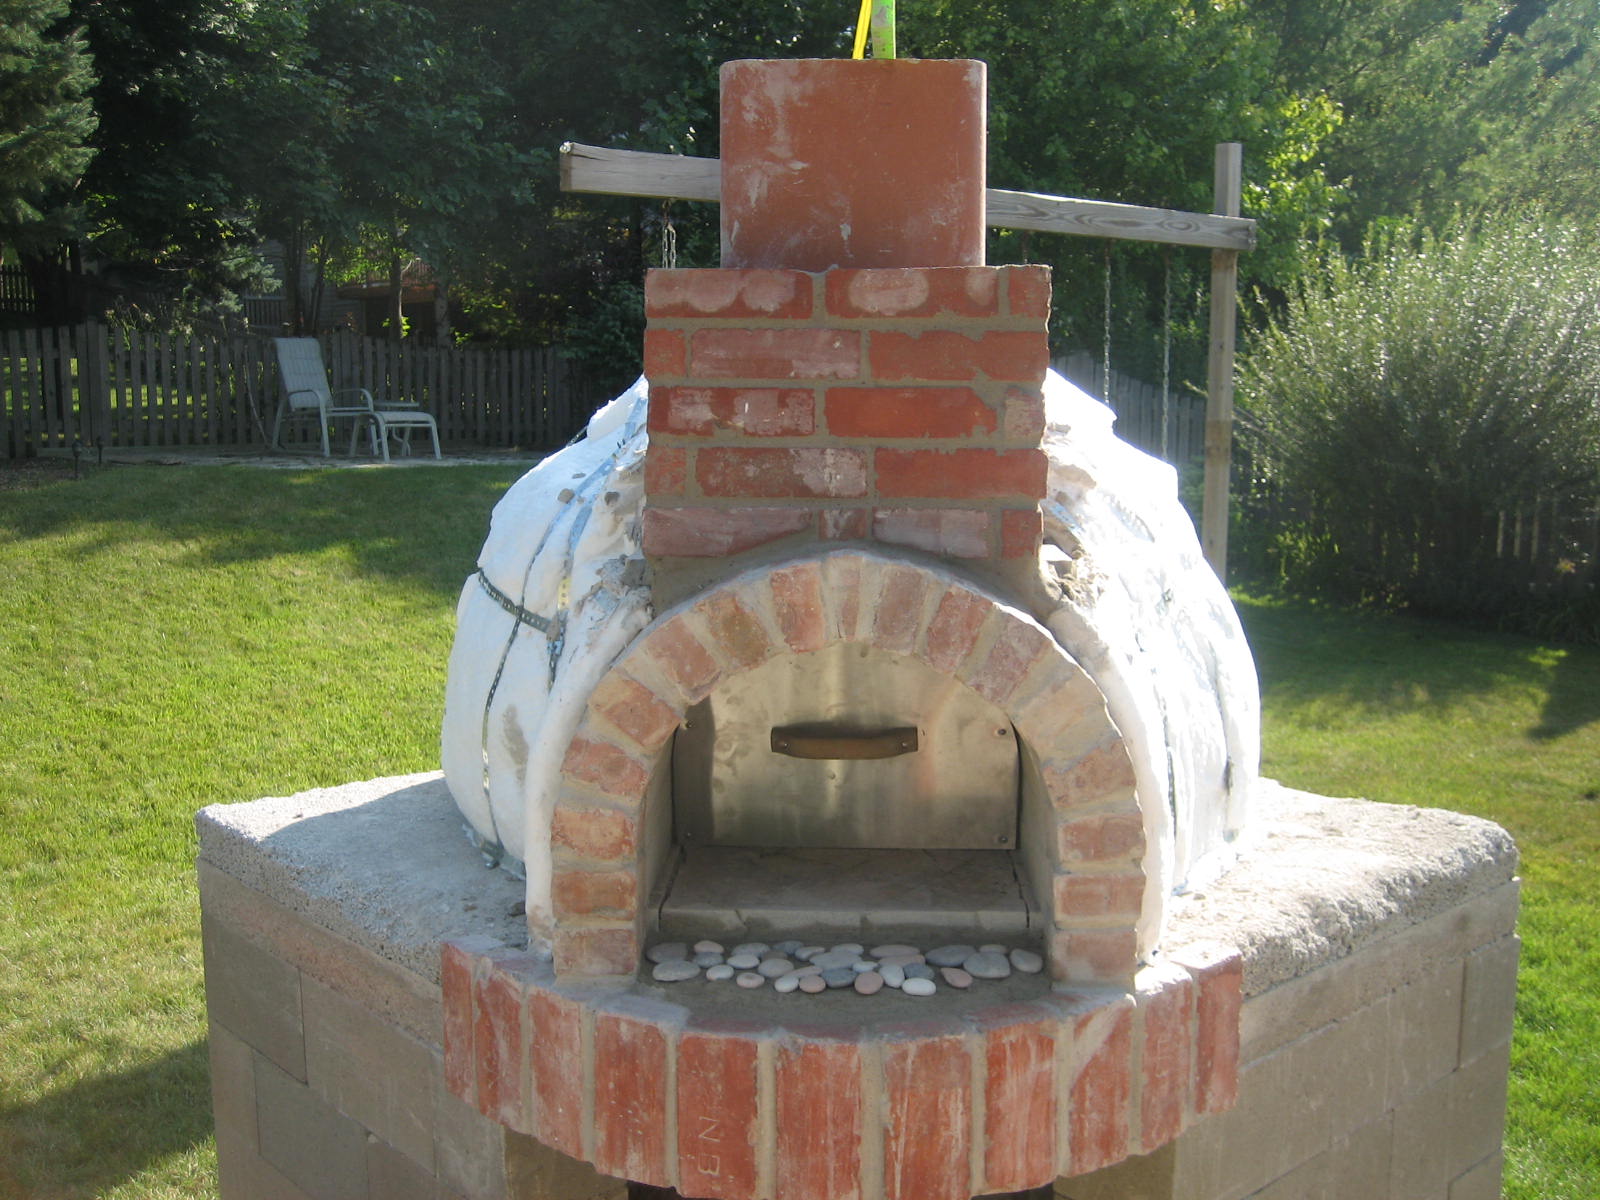
Decorative Outer Arch
This is what they call the Decorative Outer Arch, or DOA. It's another major milestone of completion. I really didn't think I would get it done before school started. I was very happy to actually have this part turn out the way I saw it in my head weeks ago.
That's when Wally, the old man that hung out in the back alleys of the ACME Brick yard, told me about the pink Chicago Commons. I dared skunks and three heart broken kittens to wrangle through three bins of brick chunks to find these. These were salvaged from actual buildings in Chicago.
If you take a closer look, the bricks making up the actual arch are the older commons, but the bricks making up the front apron are just salvaged bricks that are very, very close to the Chicago commons. They are also salvaged. They still have a few spots of old mortar clinging to them.
The yellowish bricks you see under the door are the firebricks from the oven landing. I haven't decided on what brick, or material to bridge from the oven hearth bricks to the front edge of the outer apron. There's about a 10" gap at the apex of the arch. One brick isn't enough, but I may just use firebrick, or maybe a piece of granite, or perhaps maybe even some flattened river rock.
Anyway, the last steps are:
1. Stub up a chimney.
2. Finish apron-to-hearth brick work.
3. Insulate everything.
4. Cure the brick oven!
5. Stucco the small amount of space between the dome and edge of hearth and the concrete block walls. I am thinking of using flattened river rock embedded randomly into the stucco.
6. Make wood storage door.
7. Make wooden bread/pizza peel.
8. Make a metal pizza turning peel.
9. Make ash rake.
10. Make a brass ash broom.
11. Make a swabbing mop.
12. Make/buy a tool hanger.
13. Mount the Dachshund hangers on oven.
14. Buy a digital scale, instant read thermometer, rising tubs, larger measuring cup, and lots of other things.
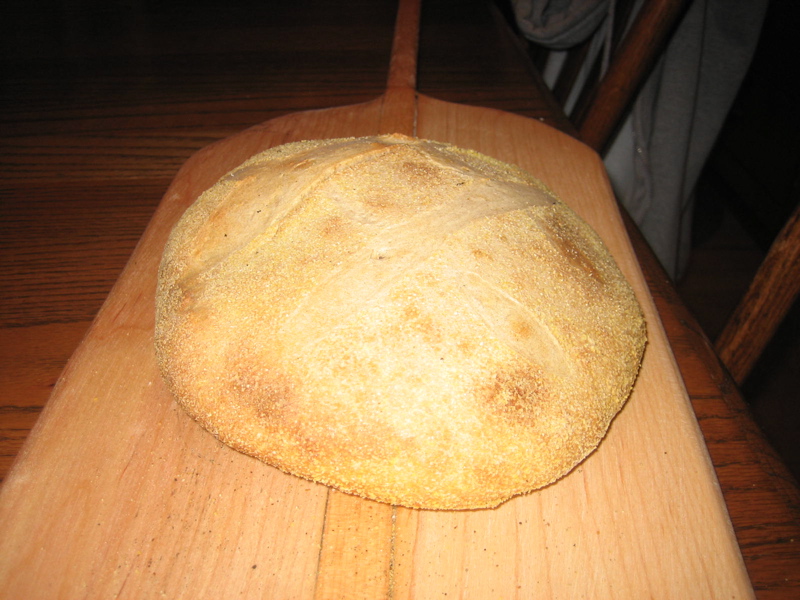
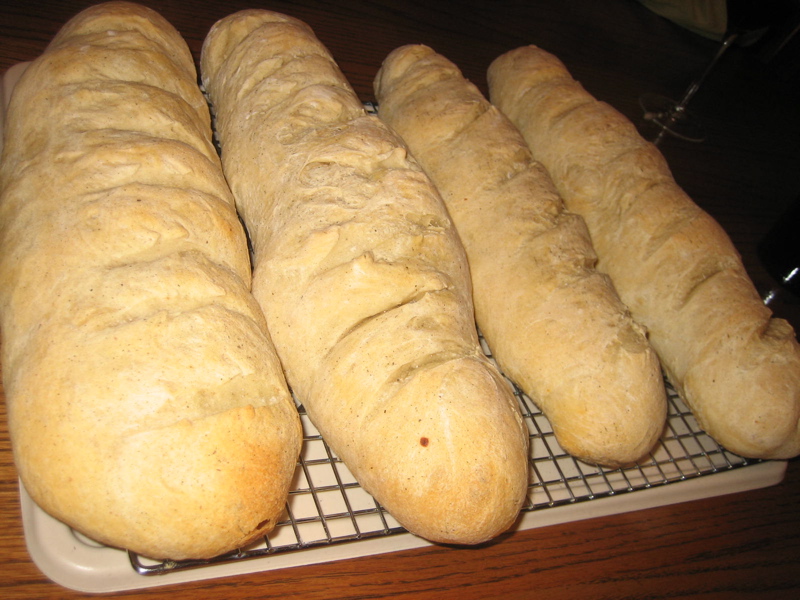
15. Surprise people with simply wonderful bread and pizza.